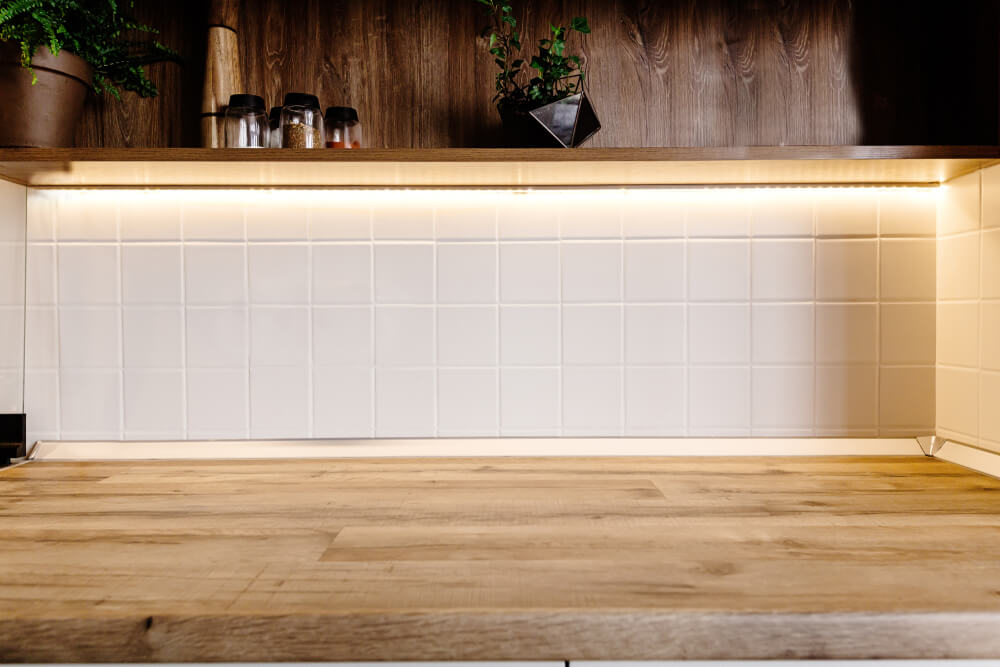
If you’re wondering how to install under-cabinet lighting, you’ve come to the right place.
Perhaps you want to add LED lights under your cabinets while doing a kitchen remodel, or maybe your kitchen is just too dark, and you need a simple way to add new lighting. Read on to find out more about the tools you’ll need and a step-by-step guide for how to install hardwired under-cabinet lighting.
Before You Begin

Most under cabinet light fixtures come with the option to hardwire or plug into an outlet.
If you’re not electrically savvy and can spare an outlet in your kitchen, plugging in is a simple option. But for home remodeling and already-crowded kitchens, hardwiring the light fixture is the obvious choice.
Not only does it save you an outlet, but it also looks better by making it easier to hide the power cords. This article will show you how to hardwire your under-cabinet lighting.
Whether you choose to plug in or hardwire, there are lots of different under-cabinet lighting fixtures available. Under-cabinet strip lights are one of the most popular choices because they are inexpensive and easy to install. They also come in a variety of colors for those interested in creating different moods with their under-cabinet lighting. Strip lights are a fantastic choice for those who want an affordable, functional, and fun lighting solution.
There are also more expensive, professional-looking lights that may be best for modern homes and kitchen remodeling. These come in many styles and light options, but most have a more professional appearance than strip lights. Though available colors and brightness settings may be limited, these lights are usually more specific to the kitchen and produce more desirable mood lighting.
Before choosing your light fixture, try to identify the type of under-counter lighting that’s best for your kitchen. Do some research to compare prices and specifications. Know what sizes you need to buy, and, if you’re adding lights to several cabinets, identify how many fixtures you’ll need.
Once you’ve decided on the light fixture, you’re ready to install it.
Tools You’ll Need
- Receptacle tester
- Screwdriver
- Mallet
- 1/2-inch spade bit
- Cordless drill
- Stiff wire
- Flashlight
- Needle-nose pliers
- 12/2 non-metallic (NM) electrical cable
- Electrical tape
- Nylon NM cable lock connector
- NM cable and wire strippers
- 1/2-inch two-screw NM cable clamp
- Orange wire connectors
- NM cable staples
Although it’s a fairly substantial list, most of these tools are quite common.
Step-by-Step Guide for Installing LED Lights Under The Cabinet
Here is how to install LED lights under your cabinets:
Step 1
Flip off the circuit breaker that powers the outlets in your kitchen. Plug in your receptacle tester to ensure you flipped the right breaker and the power is off.
Step 2
Remove the outlet where you plan to hardwire your under-cabinet lights. Gently remove the outlet from its junction box, taking note of the specific wire placements–meaning, what screw each wire was mounted to.
On the top side, you should see a knockout or a round indentation you can use to create a knockout. For junction boxes with an indentation, use a mallet and screwdriver to pop open the indentation to make your knockout.
Step 3
Drill a hole above the box through the cabinet’s bottom lip. Thread a piece of stiff wire through the top of your junction box, watching for it through the hole you drilled. This wire will be used to thread your non-metallic cable into the wall and out through your junction box.
Use pliers to grab the wire and pull it out through the hole. Tape the wire to the cable, then pull the wire back through the box, bringing the cable with it.
Step 4
Slide the cable lock connector upward several inches on the cable and snap it into place in the knockout at the top of your junction box. Using wire strippers, strip six inches on the cable sheath, exposing the wires inside. Strip half an inch of the wire covering from each of the newly-exposed wires.
Use pliers to create hooks on the exposed wire ends. Connect your black wire to the outlet’s copper screw, your white wire to the silver screw, and your copper wire to the green screw. Reconnect the original wires to the appropriate outlet screws, and tighten all screws into place. Return the outlet to its junction box, and replace the outlet cover.
Step 5
Remove the cover from the light fixture you’re going to install, either by unscrewing or sliding it off, depending on how the fixture is designed. Open the cavity holding the connecting wires to expose them.
Inspect the fixture for a knockout or indentation similar to the one on your junction box. Remove the metal disc, if applicable. Unscrew the locknut off the cable clamp, feed your clamp threads into the knockout, and tighten the locknut.
Step 6
Position the light fixture as desired on the underside of the cabinet and use the included mounting screws to secure it into place. Strip the opposite ends of the cable, as you did previously, to expose the wires.
Match the cable wires to the wires inside the fixture: black to black, white to white, and copper to green. Connect the wires, push them into the wire compartment inside the light fixture, and put the cover back on.
Step 7
If you’re wondering how to hide under-cabinet lighting wires, you can simply staple the cable cord to the cabinet’s underside, behind the light fixture, so it’s out of sight.
Conclusion
Though it may sound a bit complicated, learning how to install LED lights under the cabinet is really quite a simple process. If you have a background in doing small electrical projects, you should have no trouble hardwiring your under-cabinet lights. Even if you’re brand new, follow the steps in this guide, and you should be good to go.


